A while back I hosted a webinar with John Hartman on his light painting style. Admittedly, one can’t cram too much into a 1.5 hour online webinar.
John puts on a three day workshop to teach this stuff. You can see more info on John’s light painting workshops HERE
That didn’t stop me from giving it a go. I thought about it long and hard, and came up with my own fast and easy light painting hack.
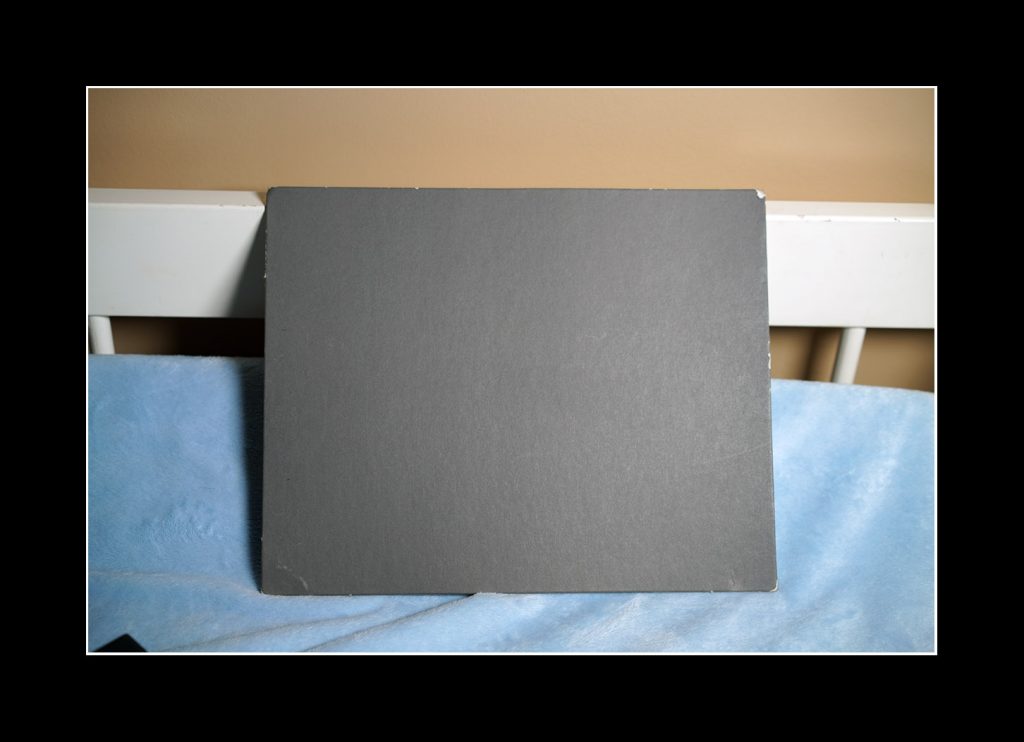
Here it is…..first thing I did was create a custom white balance based on the LED lights I was using. I don’t shoot raw, so, in theory, this should solve the problem.
Here’s the grey card set up I used to create a custom white balance.
I scoped out locations weeks prior to the shoot. I had the car ready to go, a 2006 limited edition Ford Shelby.
I decided on an area that looked industrial. I wanted something “Mad Max” like.
In our city their are mines everywhere. Problem is trespassing. More on that in a minute.
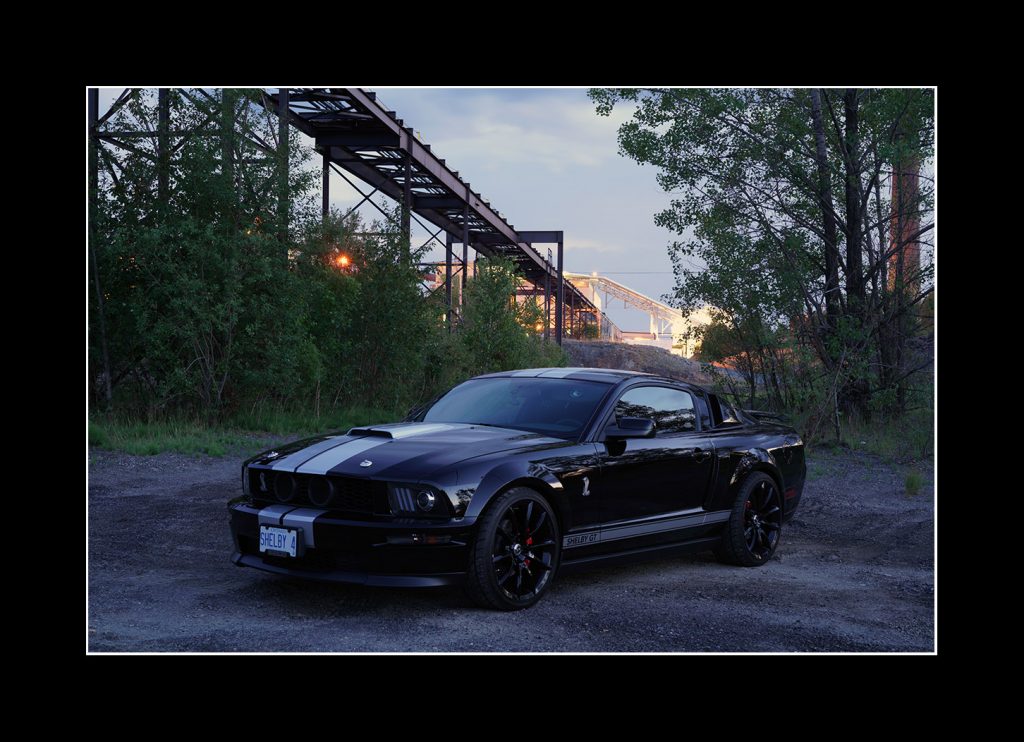
I set up the car before the sun dropped:
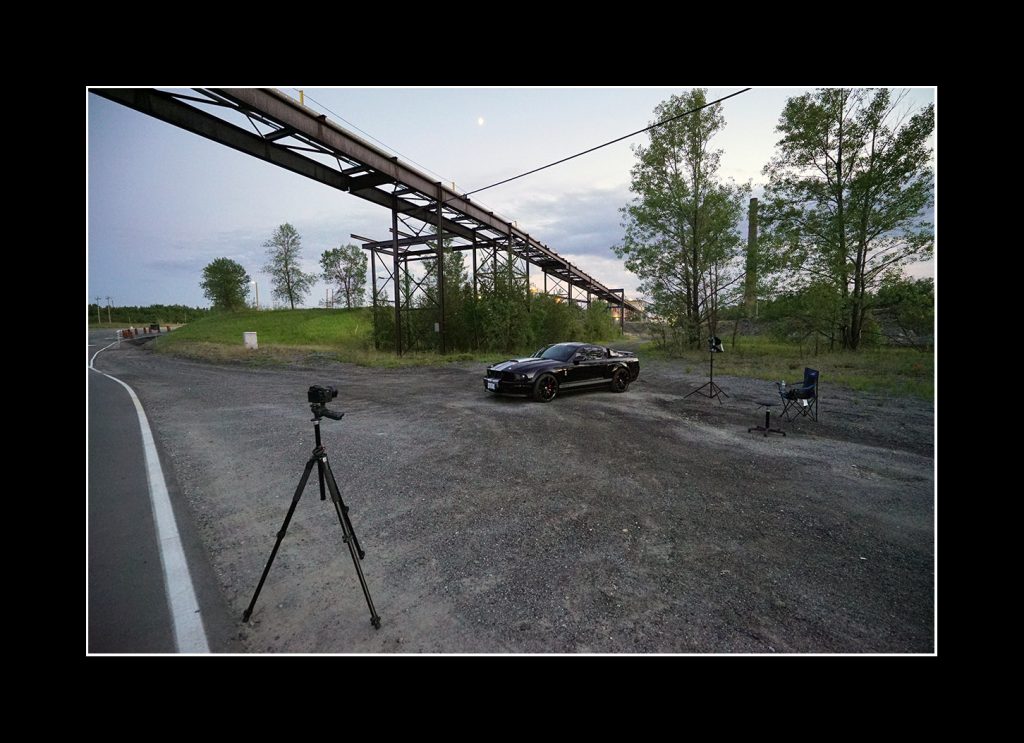
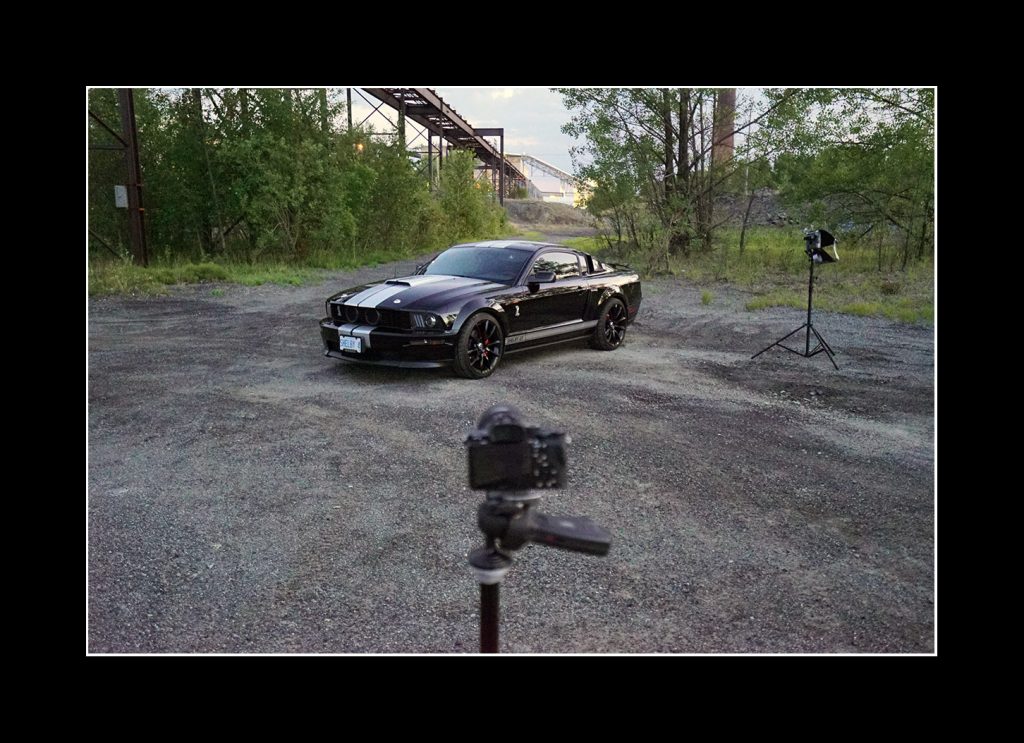
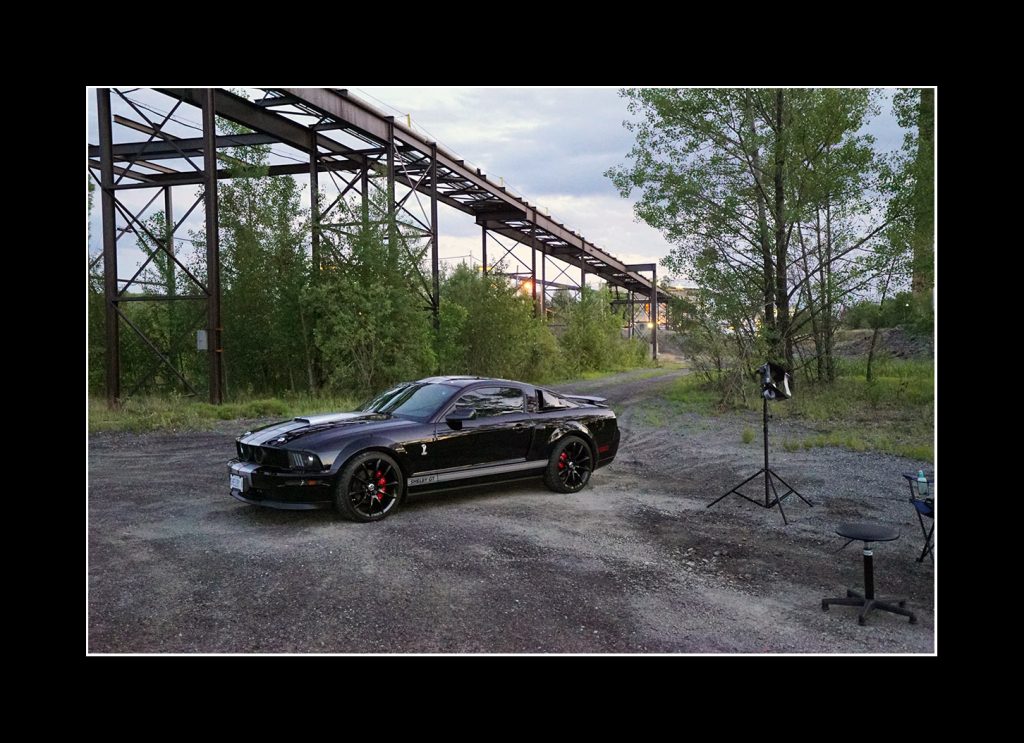
Shooting with my Sony A7Rii, 55MM Zeiss lens. Exposures to 30 seconds, ISO 100 F8
The camera is locked down and not to be touched during the shoot. Each exposure is fired by my assistant using the Play Mobile app made for the Sony system.
It works off my Android and does the job just fine, showing us a preview of each exposure should we need to inspect as we go along.
Here’s the area we decided on. Still light in the sky.
I started painting the ground under the car. You can see the sky show up when in fact is was quite dark to the human eye. This didn’t matter for these exposures since I was planning on only using the area under the car.
You can see blurred out parts of my body as I was moving around, “painting” the ground.
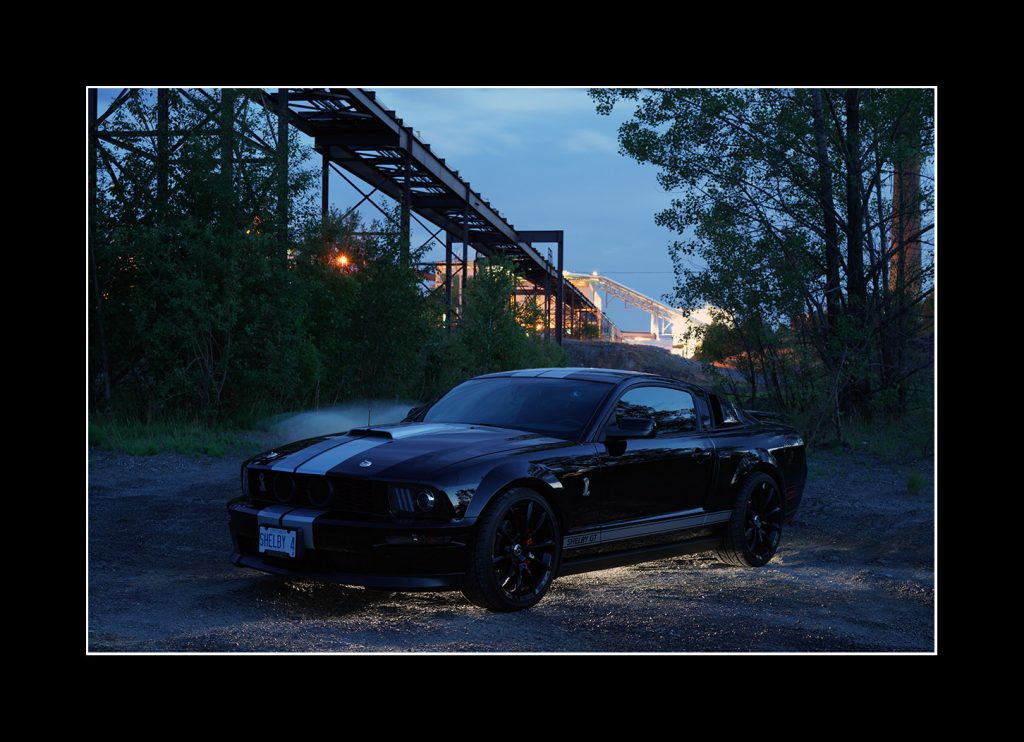
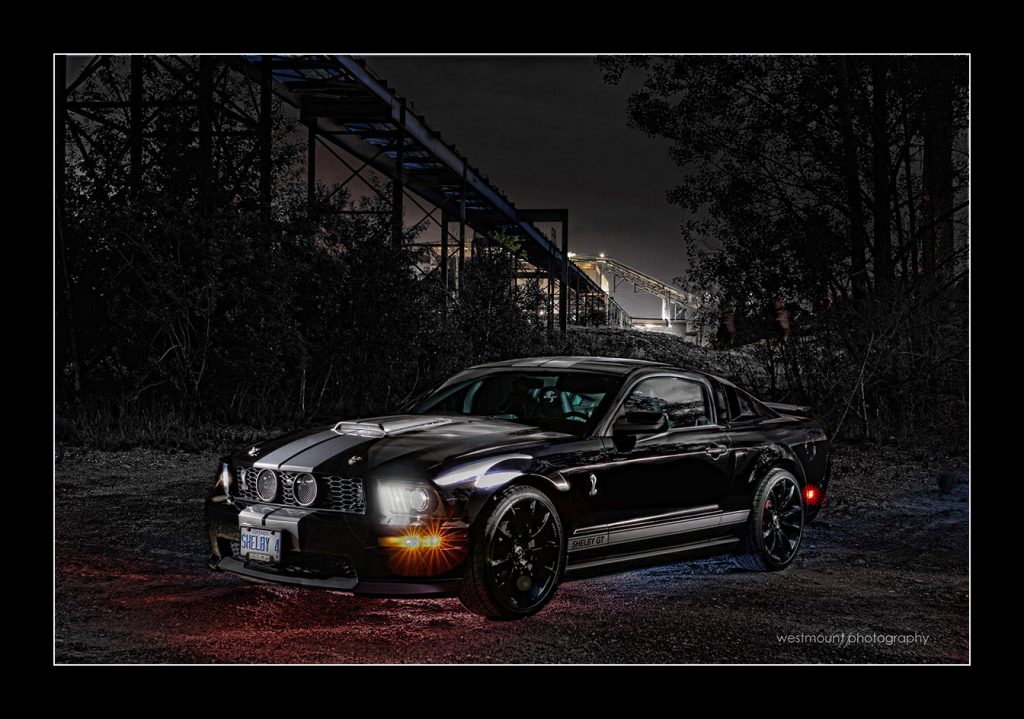
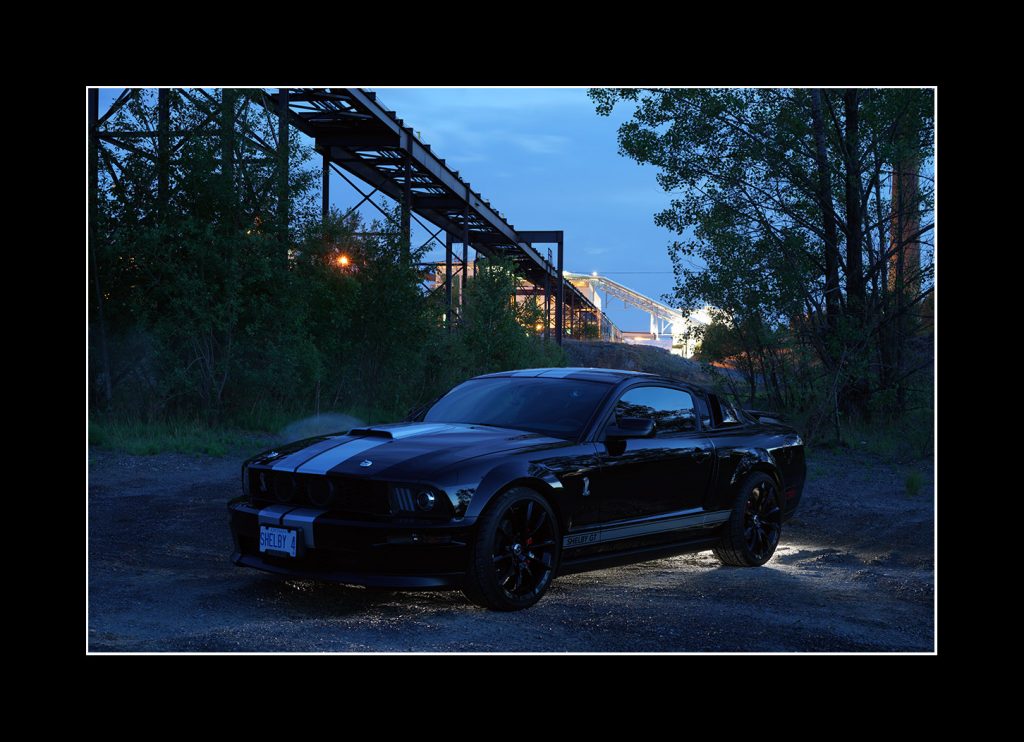 After two hours, over 40 exposures, a few mosquitoes and an encounter with the security guard-who told us to get out- this is what I created. Most of the magic happens in photoshop, as I brought in each image and erased only what I needed. I also added color to the light under the car.
It’s not perfect, and I had to sneak in one last 30 second exposure to paint the tires, with the security guard glaring over me (I whispered to my assistant..” quick, fire the camera one last time”..and I gave each tire about 10-15 seconds of light so I had something to work with in that area.) but it worked out nevertheless.
What I discovered was:
- planning is key. Dedicate time to scoping out a great location with very little to no ambient light. I suppose a calm day is a good idea, since wind may moves things around. If you’re off by one pixel you’ll have problems
- mosquito repellent is a good idea
- shoot raw. I don’t, but I think you should
- attend one of John’s workshops. I’d like to one day. John seems to be making great sales with his light painting creations.
- I actually enjoyed this experience. I didn’t think I would, but I’d do it again in a flash
- I actually enjoyed the photoshop portion too! I really didn’t think I would. But it went smooth and it felt like I was creating a work of art
Yours in photography,
Robert Provencher
I’ve been thinking about giving this a try too. Thanks for the inspiration. Did you use the same light for all of the painting?
two led lights….both same WB.one smaller….easy enough